


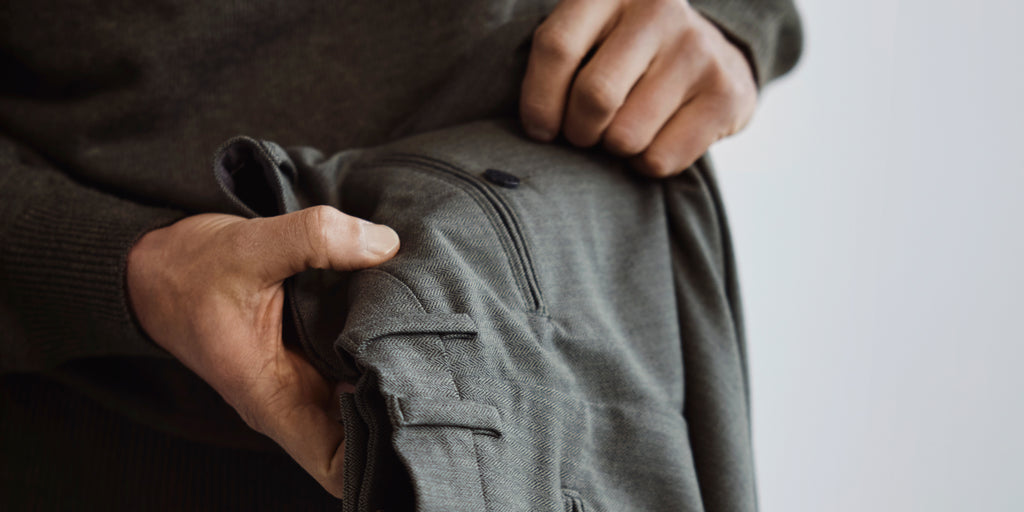
Reparer, genskab og hold dine bukser i gang.
Dit tøj bliver mere bæredygtigt for hver gang, du bruger det. Det er derfor, vi designer vores bukser til at holde, og når der er brug for små reparationer, bør det ikke betyde enden på deres rejse. Her finder du vejledninger til at sy en knap, rette en blindsyning og sætte opslåede sømme på igen. Bestil et gratis reparationssæt, eller send dine bukser til os, så hjælper vi dig med at forlænge deres levetid - fordi hver eneste bevægelse betyder noget.

Bestil et gratis reparationssæt
Har du brug for at fikse en manglende knap eller lave en mindre reparation? Bestil et gratis reparationssæt, der er skræddersyet til dine bukser. Send os en e-mail med navnet på din model og en kort beskrivelse af den nødvendige reparation, så sender vi de rigtige materialer til dig, hurtigt og nemt.
Sy en knap på
Det skal du bruge: nål, tråd, en tandstik eller tændstik og lidt tålmodighed
1. Gør tråden dobbel og tråd nålen. Bind en knude i enderne og klip den overskydende tråd af.
2. Sy gennem stoffet i knappens position (se efter de gamle huller), og op igen. Skub nålen gennem trådene ved knuden for at låse løkken.
3. Sy knappen igennem fra bagsiden i nederste venstre hul. Sy gennem nederste højre hjørne fra oversiden. Placer en tændstik eller tandstikker mellem knappen og stoffet.
4. Sy gennem stoffet og gentag gennem de nederste huller to gange mere. Gør det samme gennem knaphullerne—stadig med tandstikkeren eller tændstikken. Nu har du to vandrette stinglinjer gennem knappen.
5. Fjern tandstikken eller tændstikken, når knappen er korrekt fastgjort. Vikl tråden stramt tre til fire gange rundt om knappen, og skub nålen gennem 'wrap-løkkerne' to gange for at låse tråden.

Lad os hjælpe med mere komplekse reparationer
Hvis dine bukser har brug for en mere omfattende reparation, end hvad du føler er muligt med en simpel nål og tråd, så udfyld venligst denne formular og e-mail den med billeder af dine bukser til vores kundeserviceteam på hello@ourunits.com.
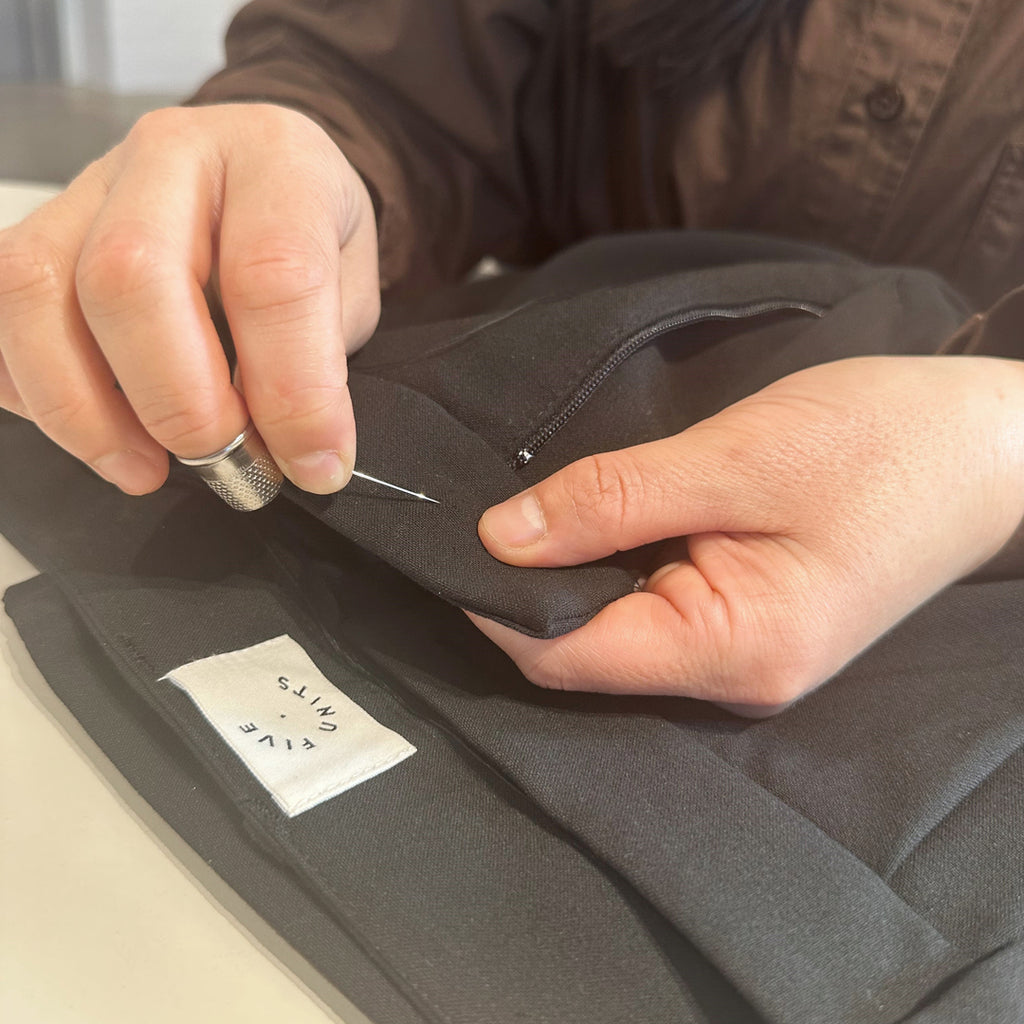
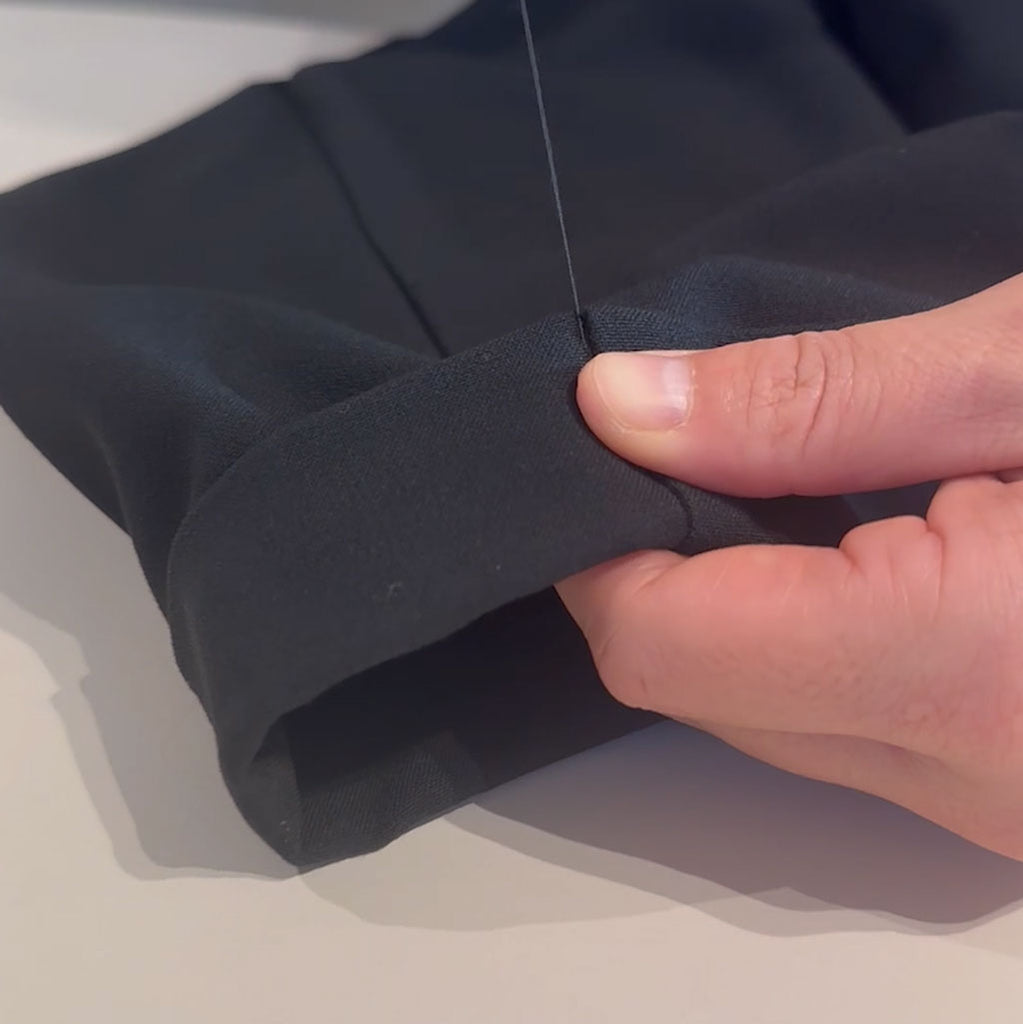
Syning af en blindsøm
Det skal du bruge: nål, tråd og lidt kærlighed
1. Gør tråden dobbel og tråd nålen. Bind en knude i enderne og klip den overskydende tråd af.
2. Sy gennem stoffet ved oplægningsoverlockkanten ved indersømspositionen. Skub nålen gennem trådene ved knuden for at låse løkken.
3. Sy gennem stoffet ved sømdelen (den tykke del med flere lag), og sy gennem sømmen og sømrummet et par gange for at låse sømmen.
4. Sy forsigtigt gennem en eller to tråde af stoffet på bendelen tæt på oplægningen, og sy gennem oplægningen igen. Fortsæt denne proces hver 5-7 mm, indtil du kommer til sidesømmen.
5. Lås tråden ved at sy gennem sømrummet og sømmen.
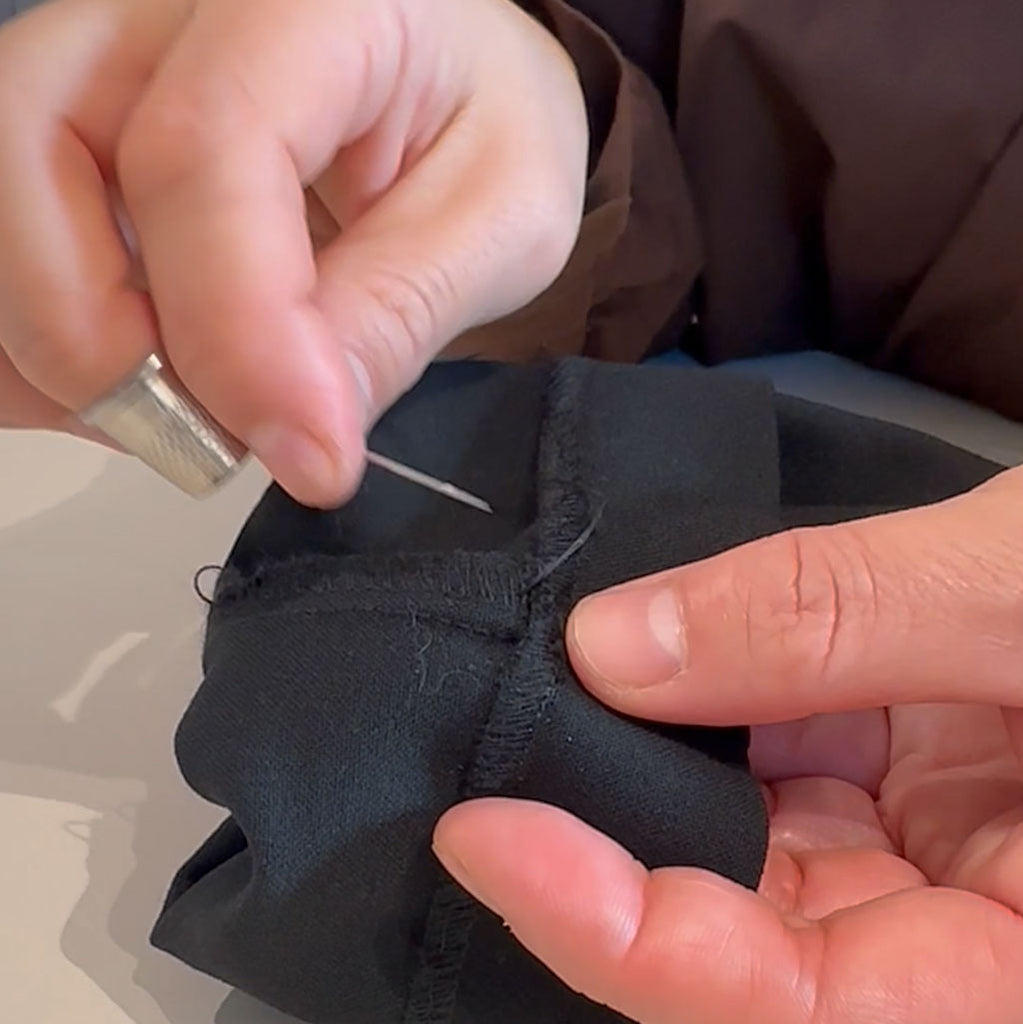
Syning af et opslag forneden
Det skal du bruge: nål, tråd og et omhyggeligt øjeblik
1. Gør tråden dobbel og tråd nålen. Bind en knude i enderne og klip den overskydende tråd af.
2. Sy gennem stoffet tæt på sømmen ved positionen for den knækkede søm—se efter de gamle huller. Skub nålen gennem trådene ved knuden for at låse løkken.
3. Sy gennem sømmen på opslagsdelen og sy tilbage gennem alle lag 2-3 mm fra hvor nålen kom op.
4. Gentag syning gennem alle lag tre til fire gange og afslut med nålen på indersiden af buksebenet.
5. Lås tråden ved at sy gennem sømrummet et par gange. Skub nålen gennem løkkerne to gange for at låse tråden.
